Googleカレンダーで資料を共有するの巻
- 2020.03.31
- google calendar 使いかた備忘録
- googleカレンダー
とあるサッカーチームの予定を Google カレンダーで管理・共有しています。また、各予定に関連する資料があればGoogleドライブに保存し、Googleカレンダーを通じて共有しています。便利に使えているので、備忘録としてそれらの使用方法を記載します。
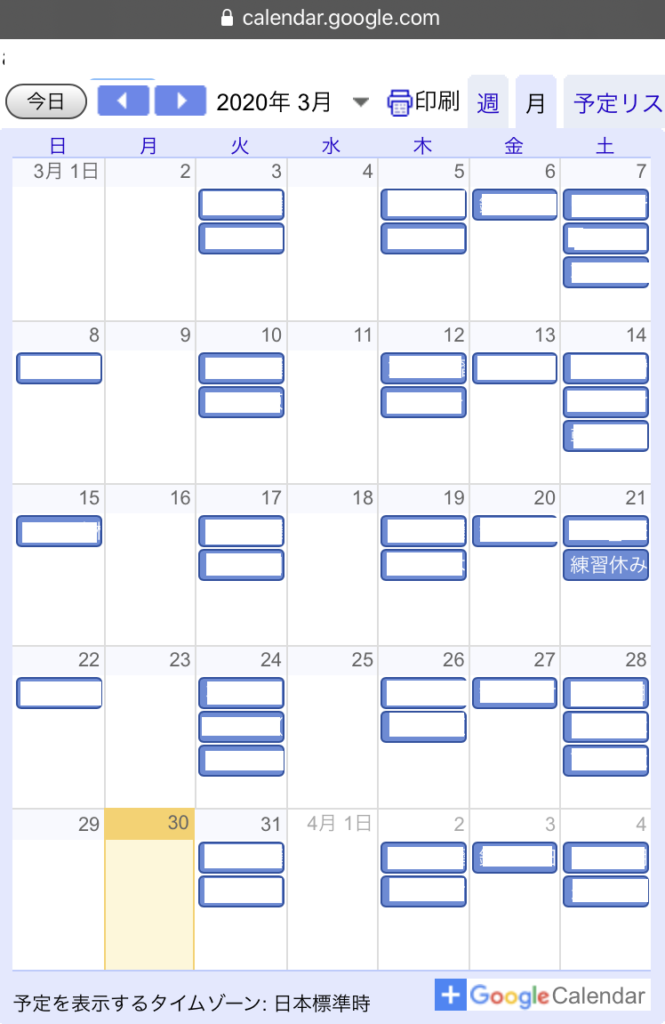
Googleカレンダーの見え方はこんな感じ。
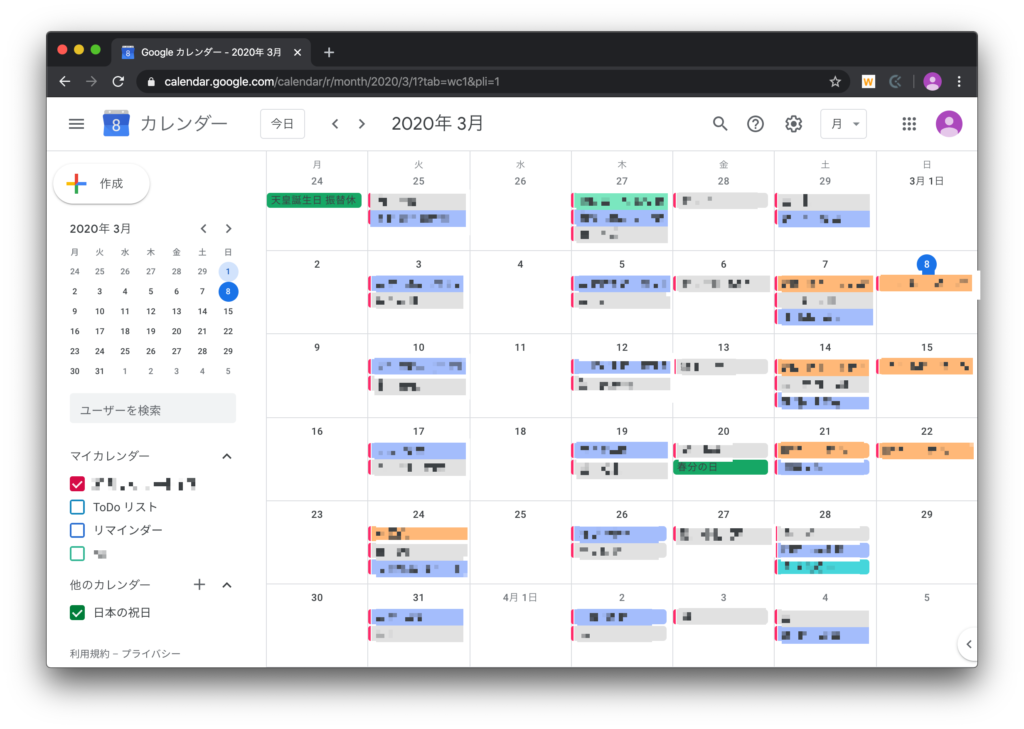
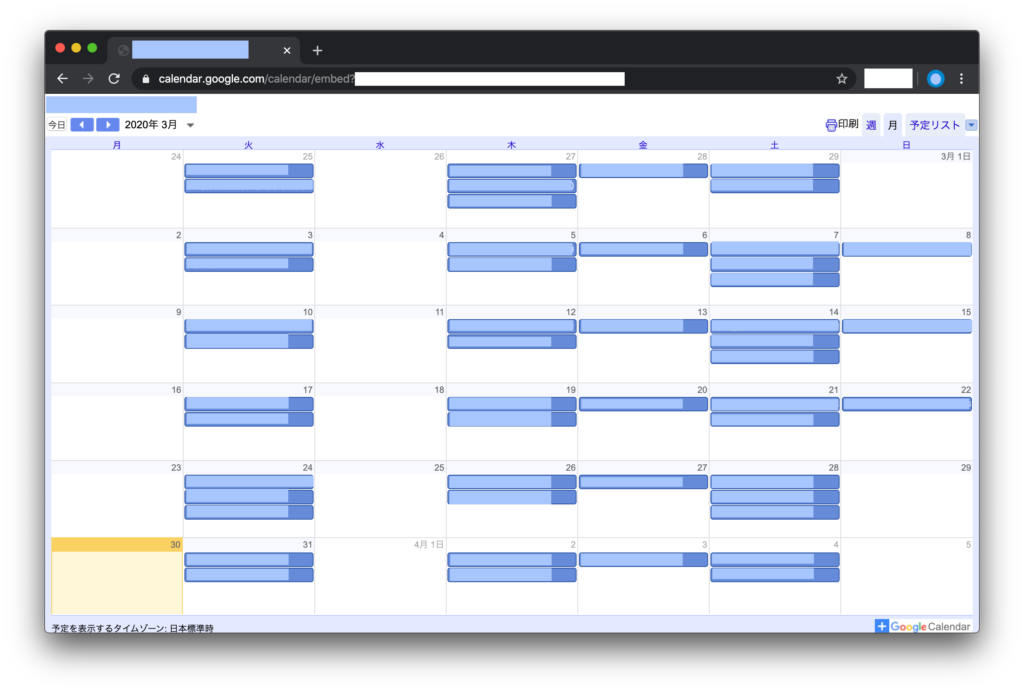
Googleのアカウントをもっていなかったり、Googleカレンダーを使っていない人でも、共有したリンクからカレンダーの内容を確認することができます。ちょっと見にくくなりますけど。
経緯
私は昔ながらのサッカー少年団で保護者として活動に関わっているのですが、そこでは、指導者や保護者のみんなで予定を共有しておく必要があります。以前は月ごとの予定表をExcelで毎回作成して、紙やメールやLineで配布したりしていました(Line使ってない人もいたのでメールとLineを併用してました)。でもそれだと、
- 印刷が面倒
- メールやLineで毎回添付して送るのが面倒(Lineを使えない年配者もいる)
- Excelを起動しなきゃならない
- Excelの画面はスマホでは小さすぎて見にくい
- プライベートの予定と付き合わせるのが意外と手間
- 予定の追加や変更があったときの追加修正や再配布が超面倒
などなど、結構不便なことがありました。
まあ印刷はヤメちゃえば良いだけではありますが、実はExcelの運用のままだと起動に時間がかかったりスマホの小さい画面では確認しにくかったりしたので、見やすい紙ベースの予定表っていうのはまだまだ必要性が高いままでした。。。
こんなわけで、脱Excel・脱紙し、もっと簡単で便利に見やすい予定表をチーム内で共有するために、Webで使用できるカレンダーに移行することを考えました。
移行先の選定要件として、
- 新たな費用負担やインストールが発生しないこと
- 予定表の作成や配布が楽になること
- 使い方がわかりやすいこと
- スマホをもっていない人でも予定が確認できること
- その月の予定を一覧できること
- 自分の予定と重ねて確認できること
- 関連資料も確認できればなお良い
というのが考えられました。いろいろなWebカレンダーやアプリを自分なりに調べた結果、これらを満たしてくれたのがGoogleカレンダーでした。移行してからは、随分予定表周りのストレスが緩和されましたので移行して良かったと思ってます。
特に、Googleカレンダーで作成したその日の予定からファイルを参照できるのがとても便利でしたので、ここではその使い方をイベントの追加の仕方とともに備忘録として記載します。
Googleカレンダーから資料を参照する方法
Google へのログインおよびログアウト
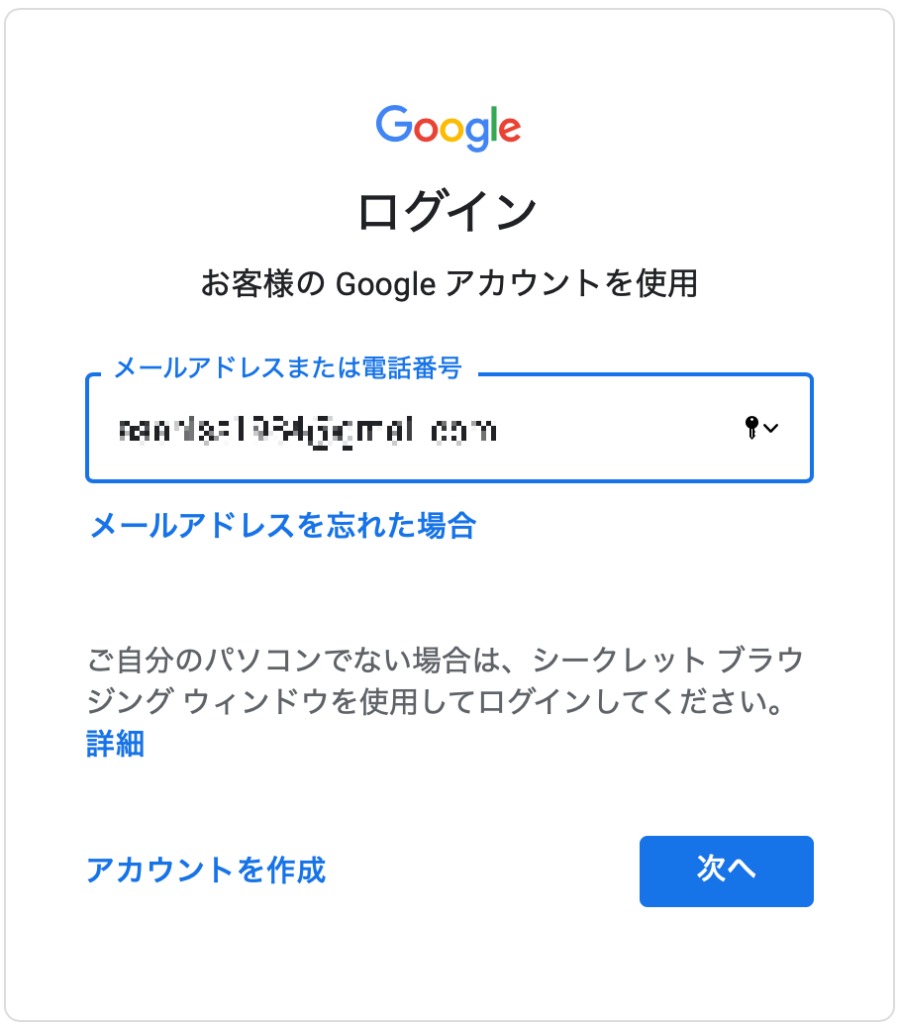
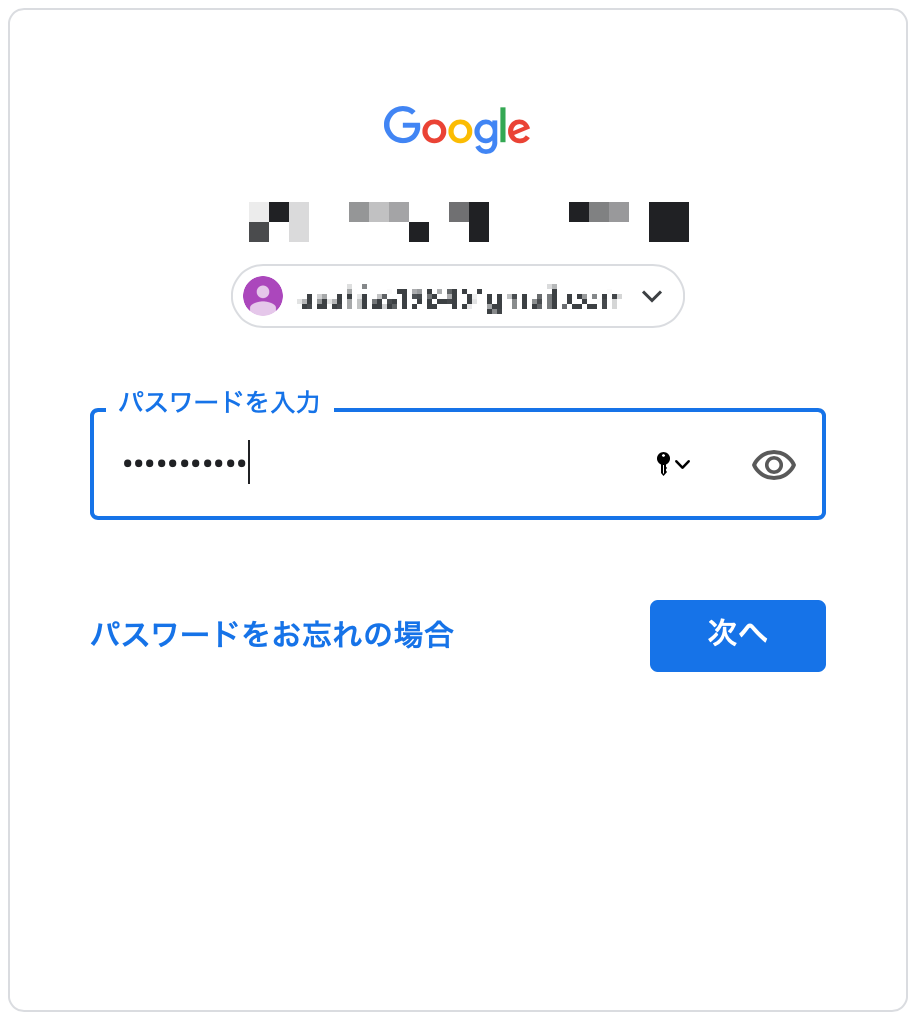
Google のホームページに移動して、Googleのアカウントでログインします。
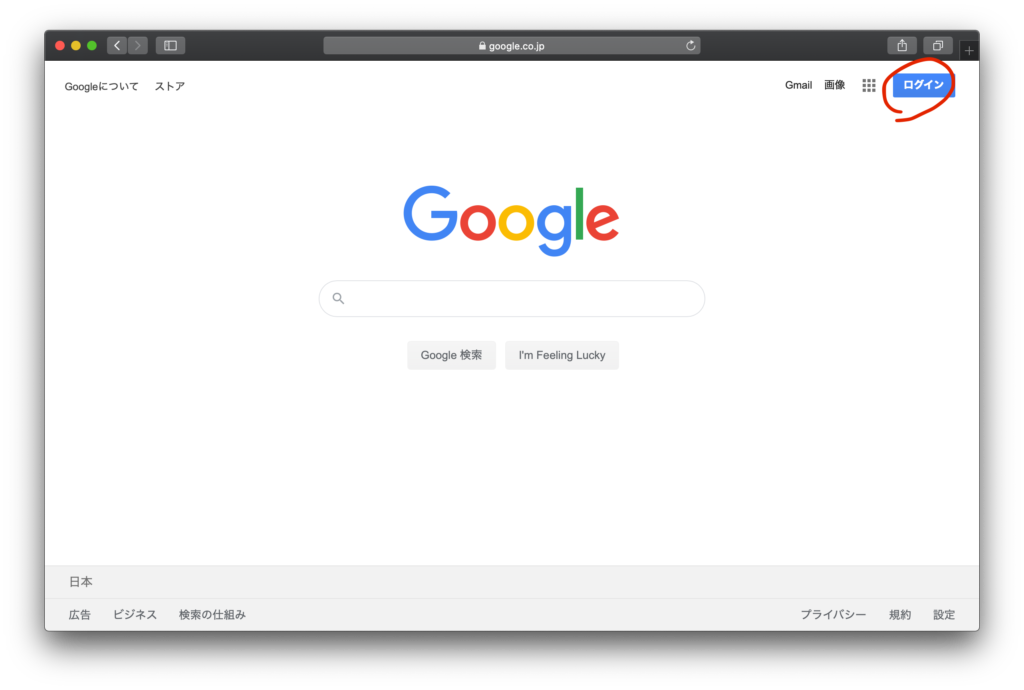
ログアウトするときは、右上の

からログアウトします。
Google ドライブ
まずは、共有したいファイルをGoogleドライブに格納しときます。
右上の

をクリックして、”ドライブ”をクリックします。

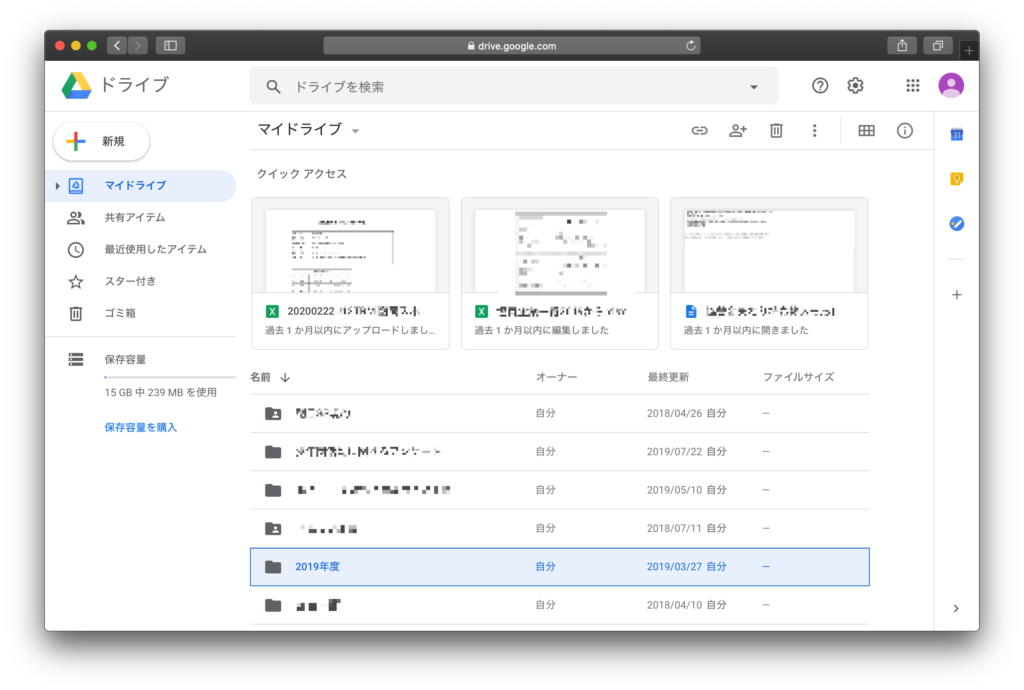
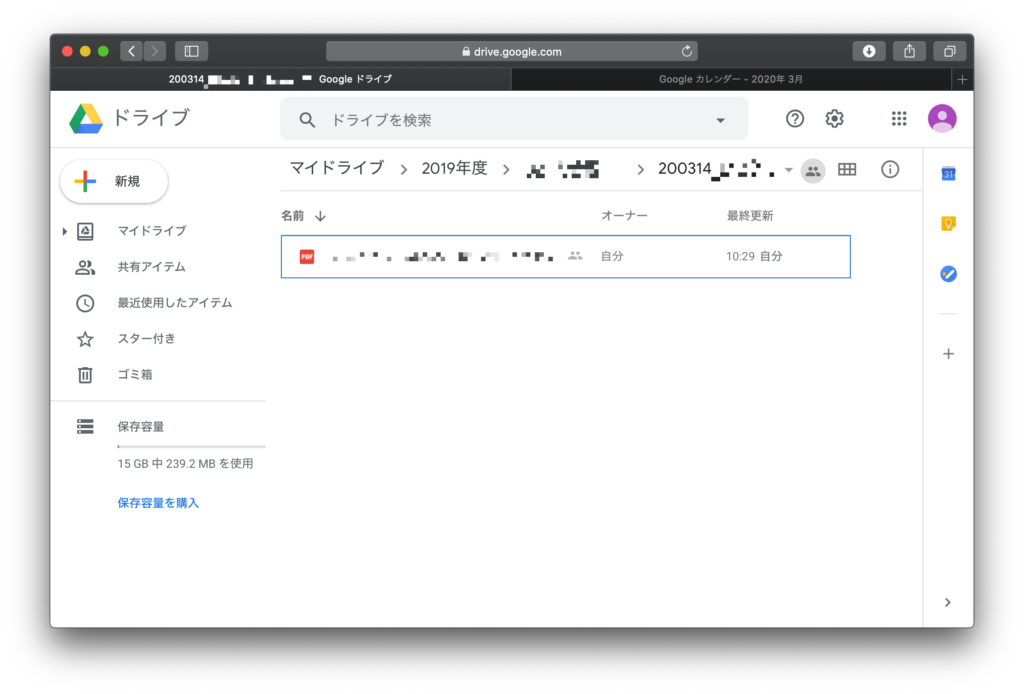
Google ドライブの中身です。結局、カレンダーに必要ない資料も、保存すべき資料はなんでもかんでもここで保存することにしました。
ここでは2019年度のフォルダを作って、その中にカレンダーで共有する資料を格納しています。
フォルダ作成、ファイル保存
さて、フォルダの作り方と資料の格納のやり方を記載します。
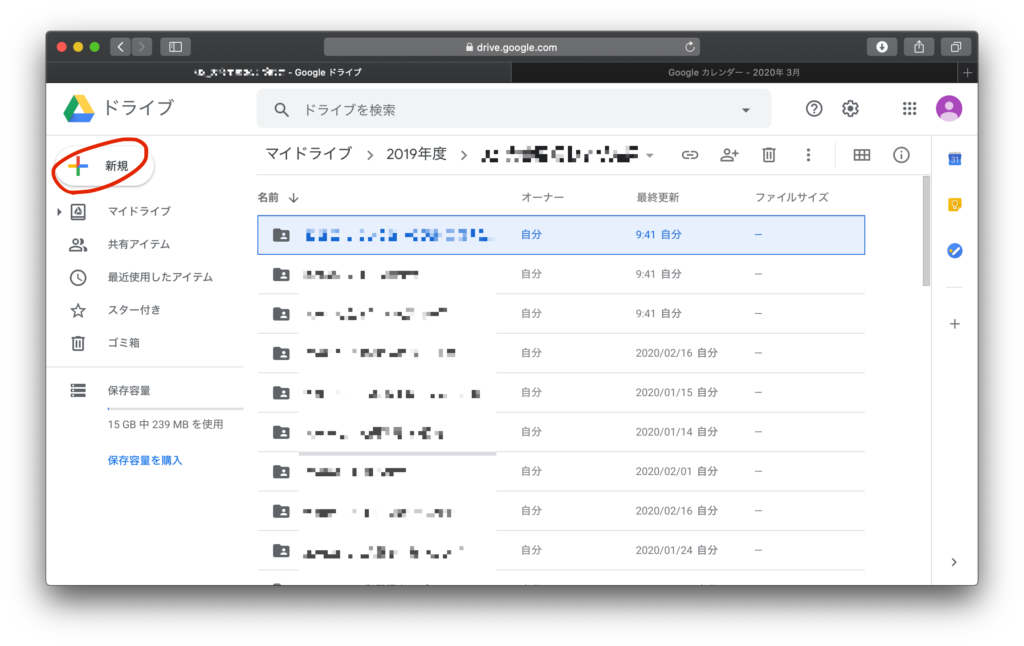
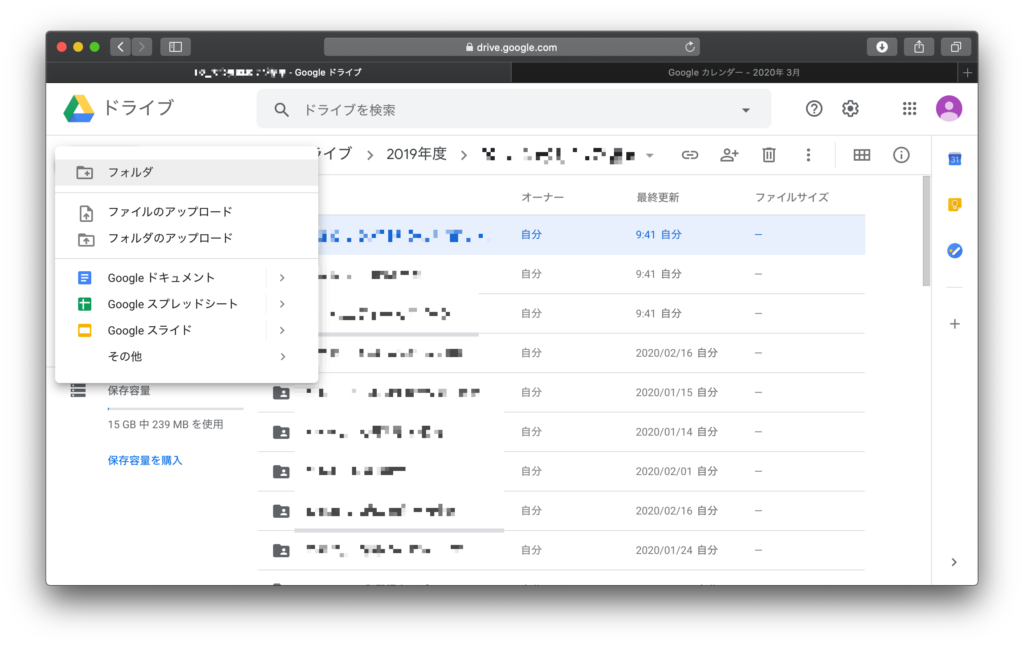
左上の”新規”から”フォルダ”を作成します。
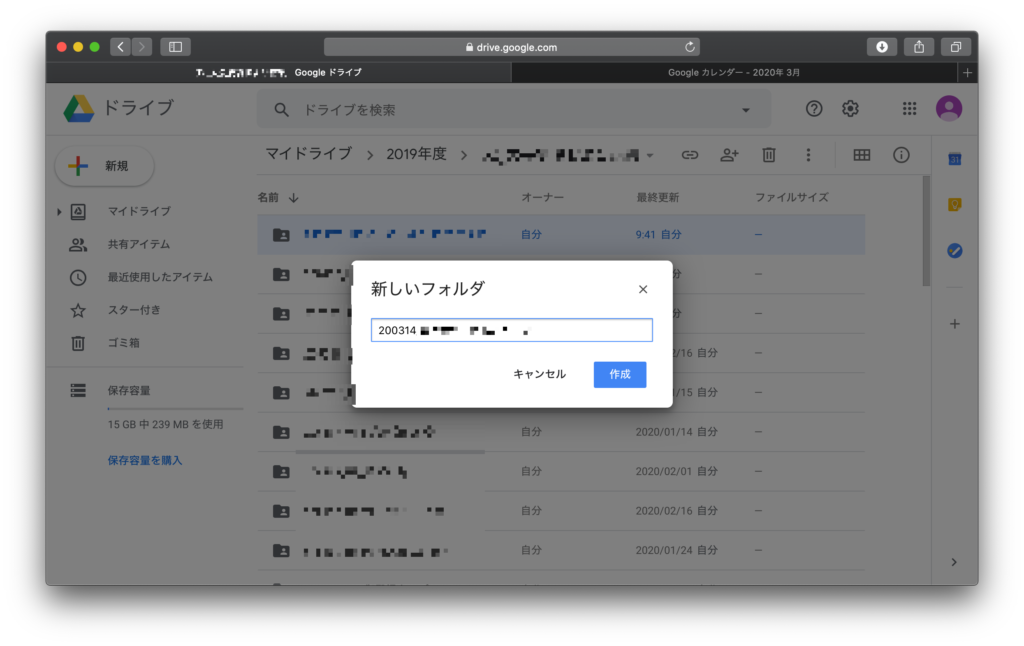
フォルダ名を入力します。私は発生した日付順に並べたいので年月日_資料名でフォルダ名をつけています。
ドラッグ&ドロップでファイルを格納できます。
Google カレンダーへのリンクを取得する
先ほど格納した資料をGoogleカレンダーから参照するためのリンクを取得します。なお、ファイルをカレンダーに添付するというやり方もできます。
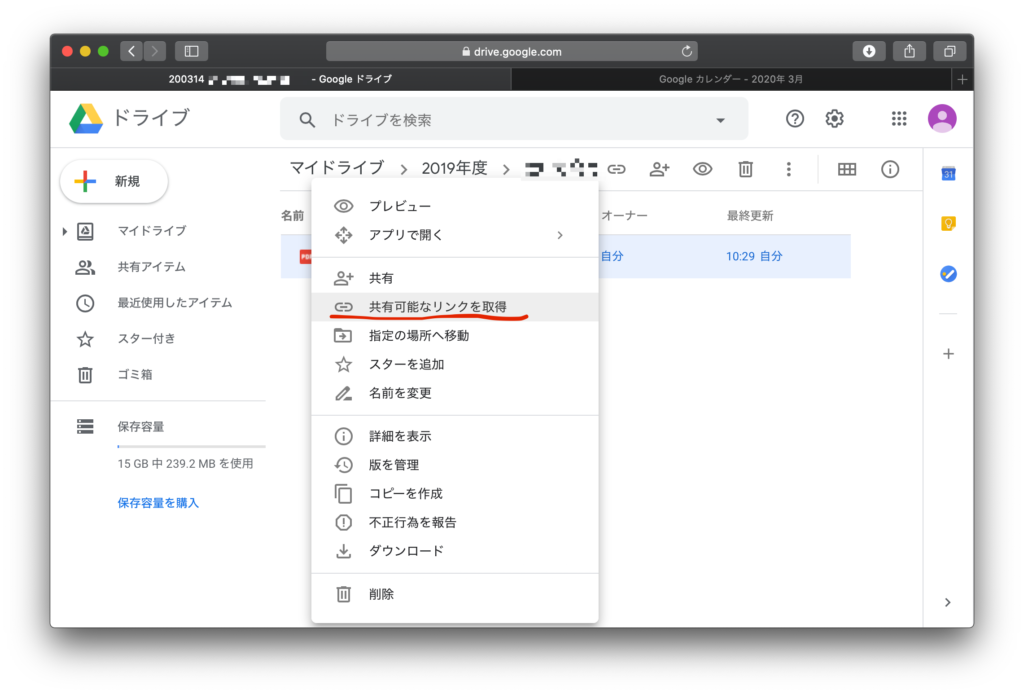
リンクを貼る場合、まず、ファイル上で右クリックし、”共有可能なリンクを取得”を選択します。
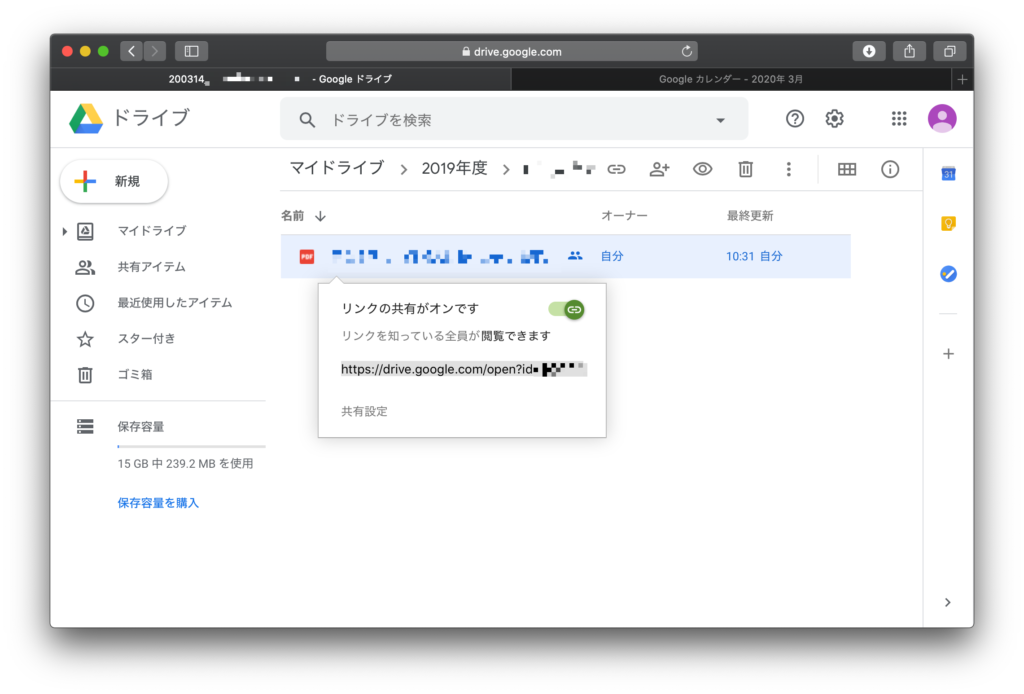
出てきたリンクをコピーします。コピーしたリンクを Googleカレンダーに貼り付けることで保存した資料を参照できるようになります。”リンクの共有がオンです” かつ ”リンクを知っている全員が閲覧できます” の状態であればOKです。
Google カレンダー
新規イベント作成
次に、資料を共有したいイベントを Google カレンダーに追加してみます。もちろん最初にイベントをGoogleカレンダーに追加してから資料をGoogleドライブに保存するという順番でも良いです(普通はそうやるか)。
Google のホームページに行って、
からカレンダーをクリックして 表示します。


作成したい日付のところでクリックします。
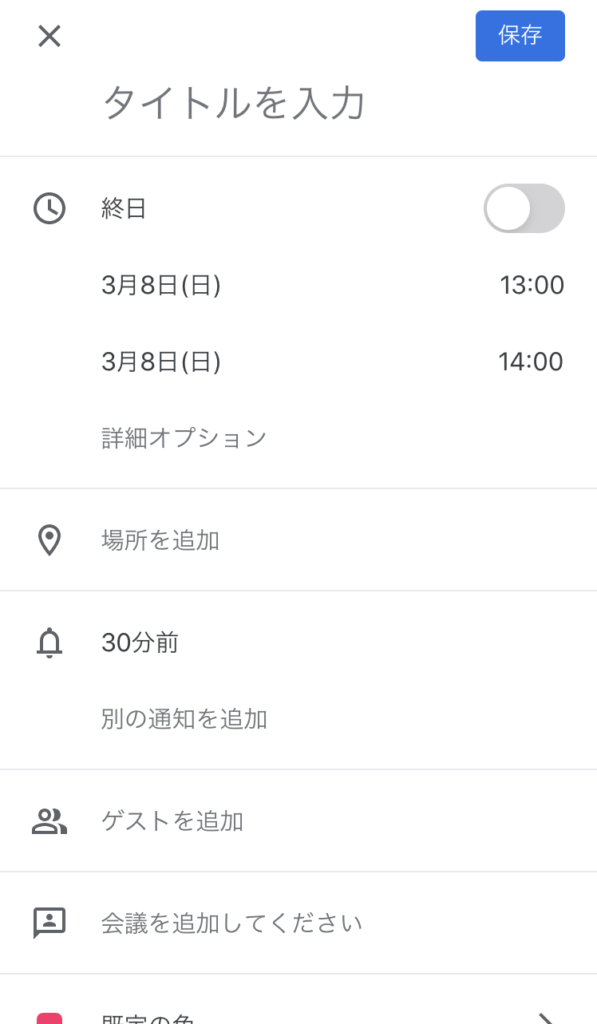
クリックすると新規イベントの作成画面が出ます。
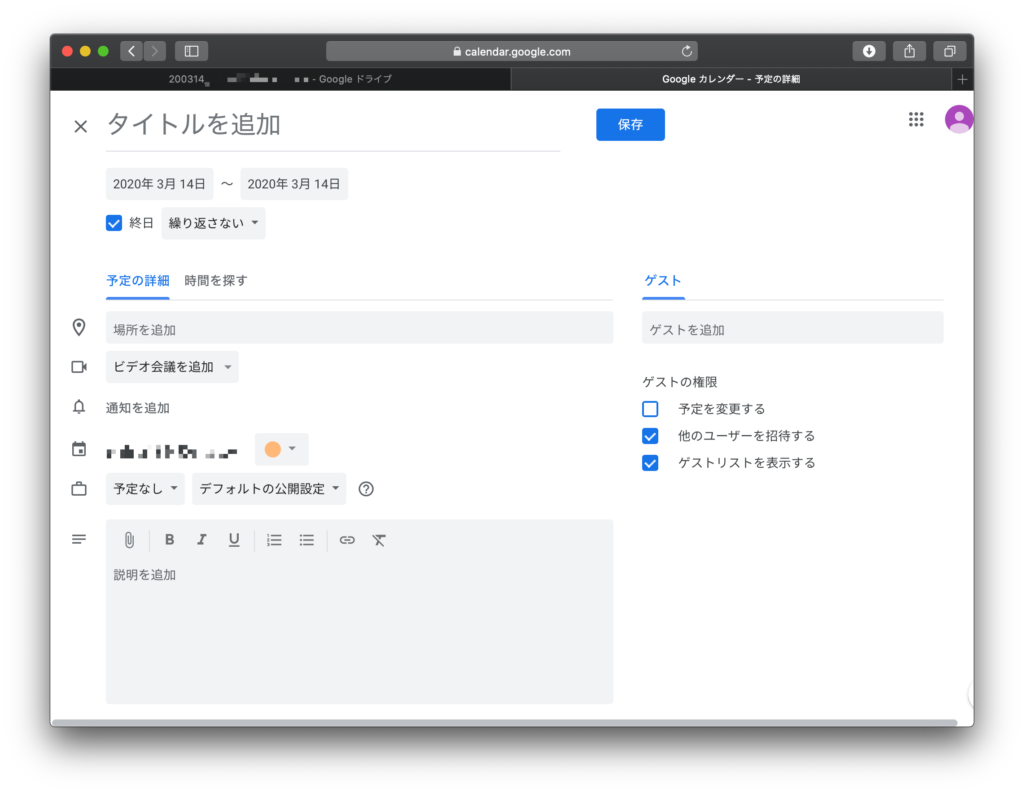
終日にチェックを入れておくと予定一覧で見やすくなります。(時間指定では、タイトルの先頭に時間が表示されるため、何のイベントか判別しにくくなります。文字数も多くなりますし。)なので、私はどんな予定も”終日”にして、時間帯はメモ欄に記載することにしています。
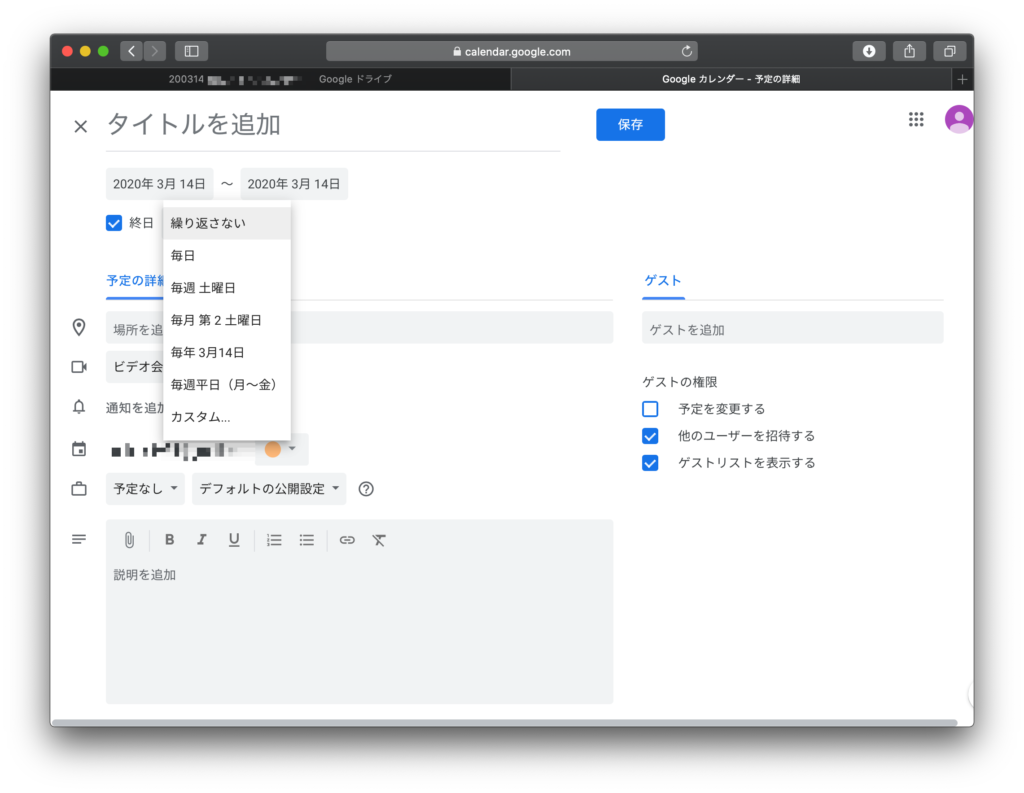
2日間イベントの場合は”終日”の右側の“カスタム”を選択して、、、
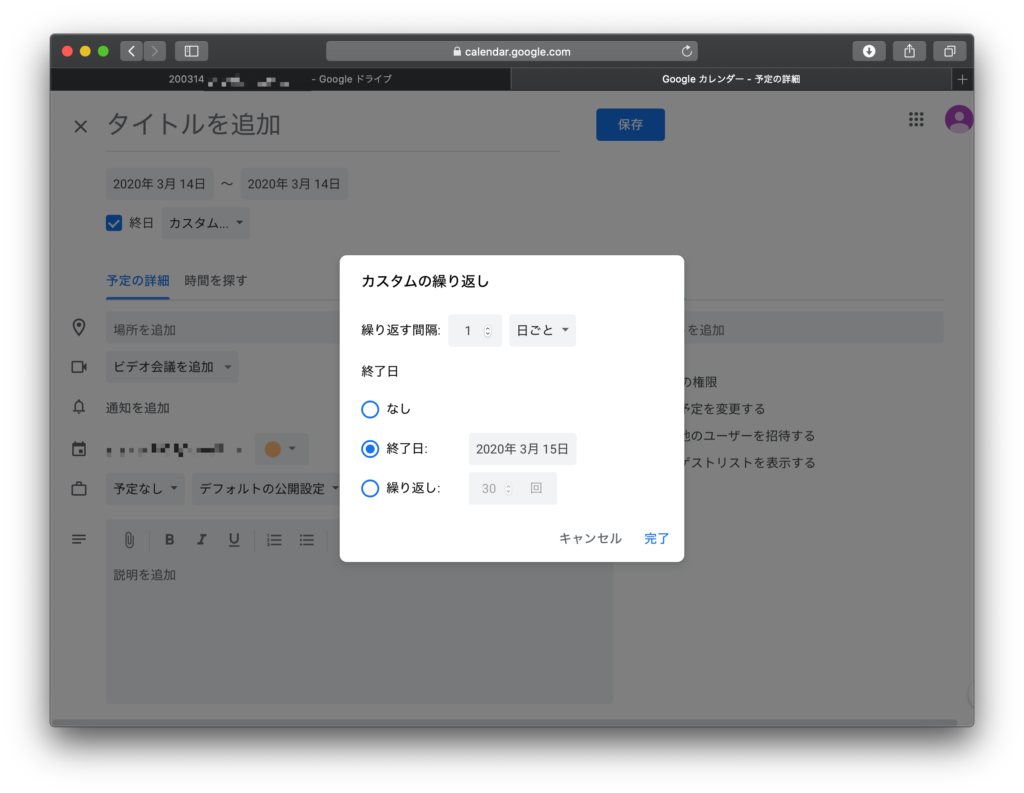
“1日ごと“を選択し、終了日を設定して2日間の予定を作成して います(この場合は終了日 3 月 15 日)。
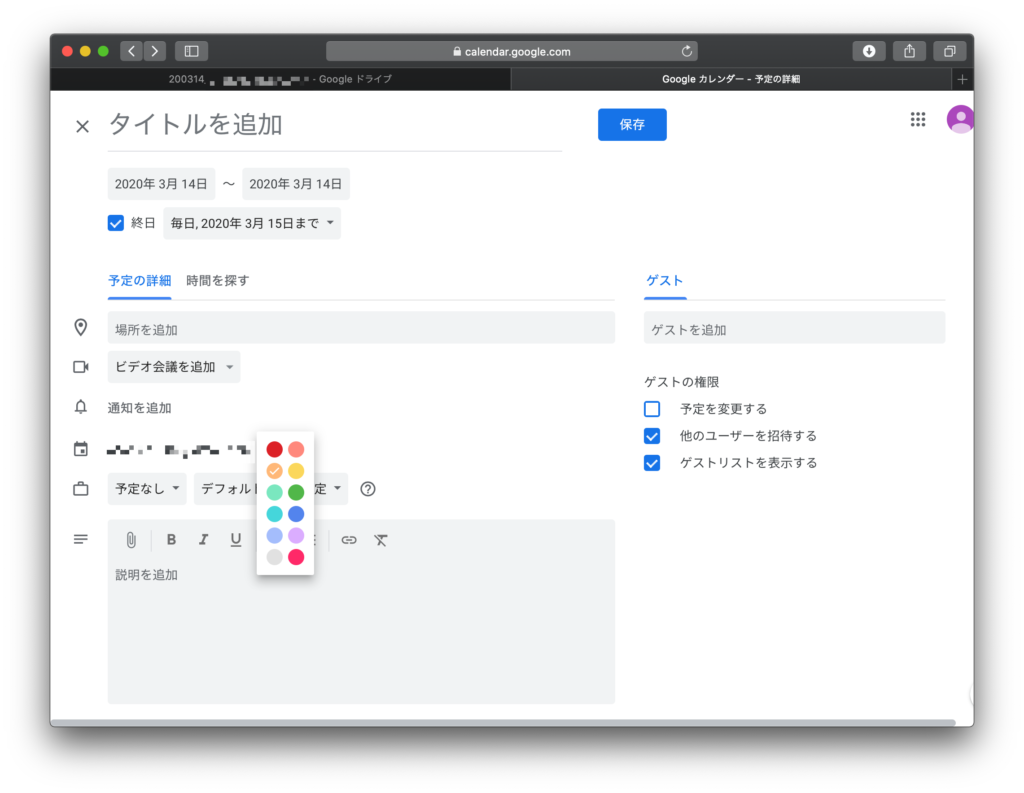
イベントの種類で色分けできます。試合の予定はミカン色に統一してます 。
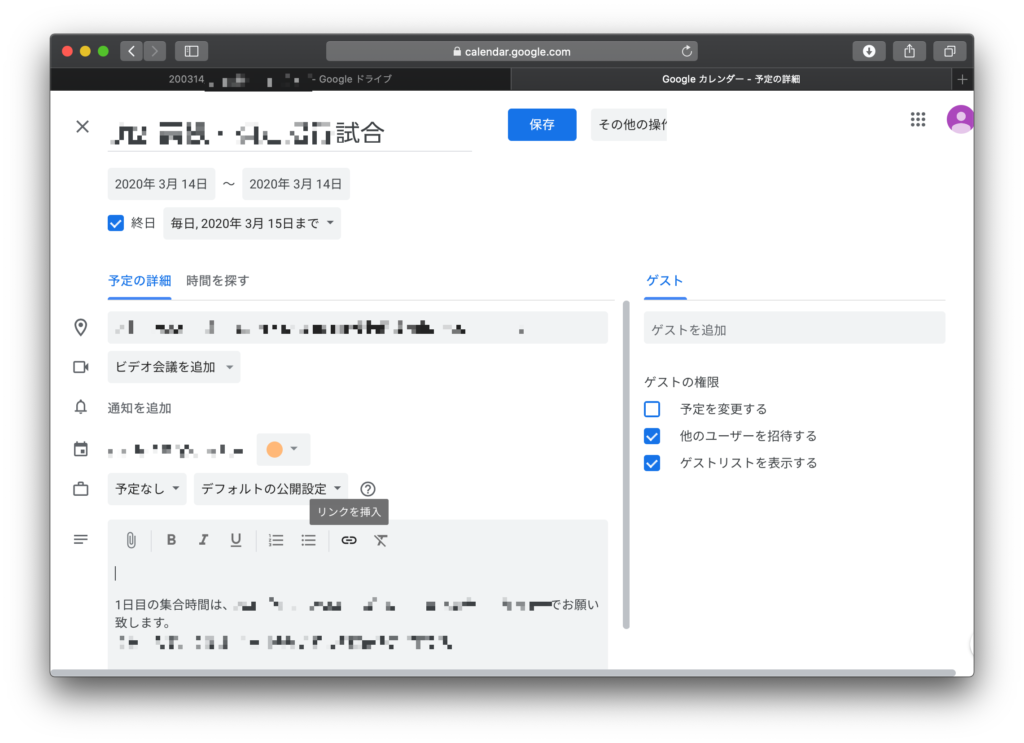
その他の情報も入力します。入力が終わったら、”保存”するとカレン ダーに反映されます。
なお、”場所”を入力しておくと、Googleマップと連携できますので開催場所を共有することがとても簡単になります。ただし、Google マップが認識できるように”場所”を入力しないとGoogleマップが認識してくれません。
カレンダーイベントへ資料のリンクを貼り付ける
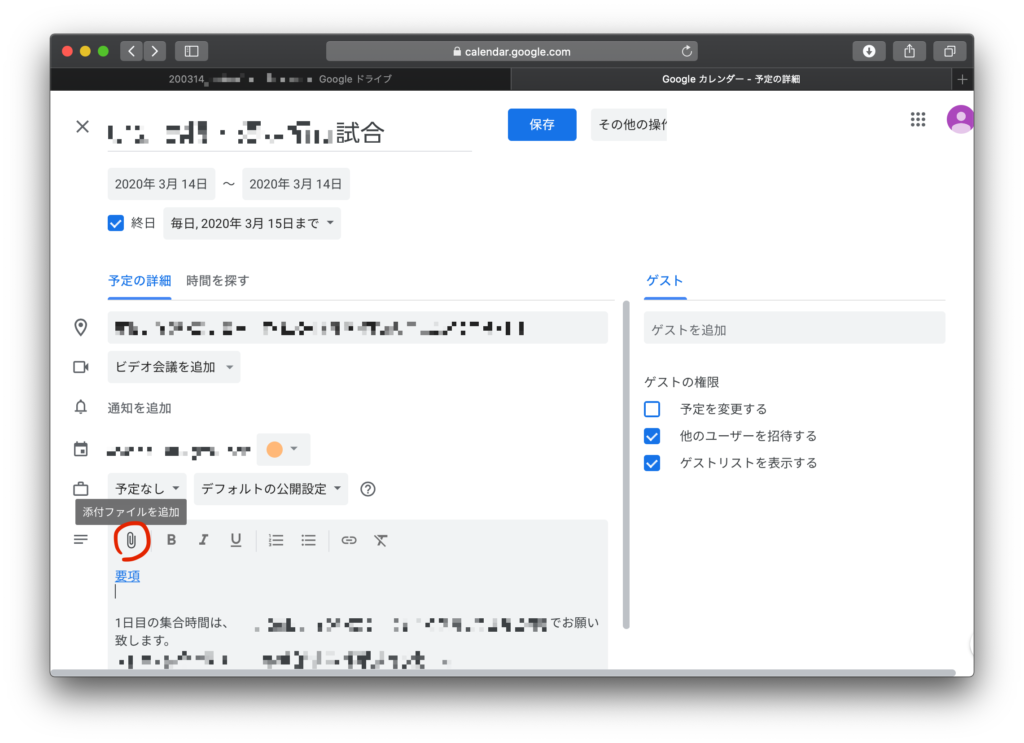
イベントに資料のリンクを貼ります。カレンダーで先程作成したイベントの予定を開きます。リンクの挿入ボタン

を押します。
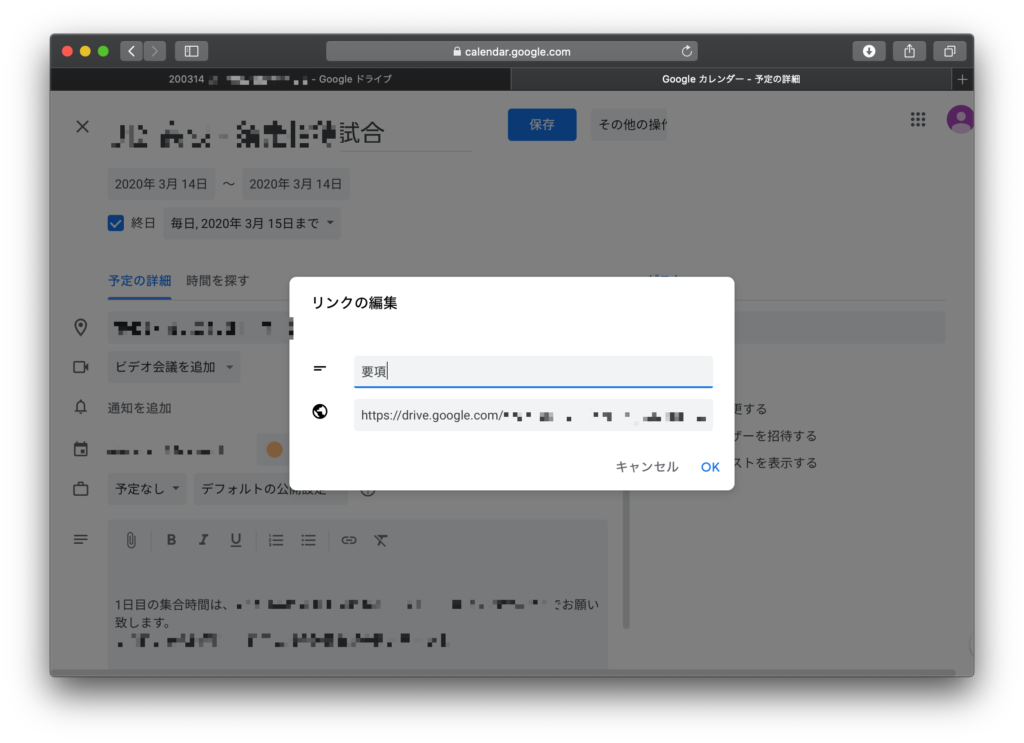
リンクの表示名を入力します。今回は”要項”としています。 コピーしておいた資料へのリンクを地球マークの欄に貼り付けてOKとするとリンク”要項”が作成されます。
リンクではなく、ファイルそのものの添付もできます。こっちだけで も良いかも。
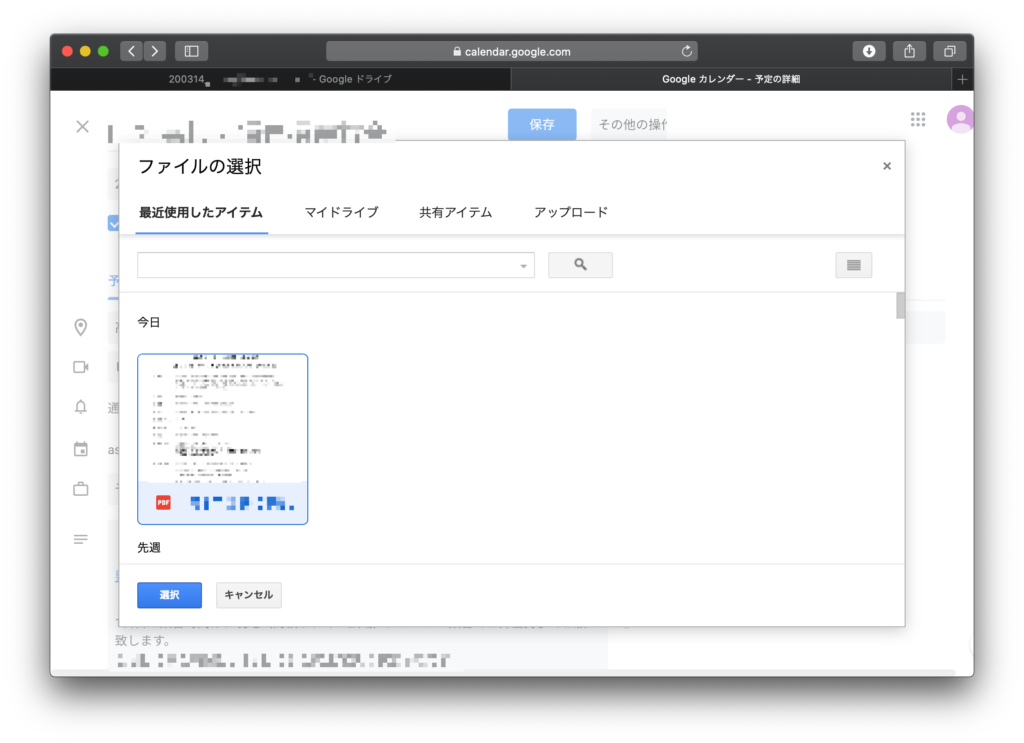
ファイルを Google ドライブから選びます。
添付できました。
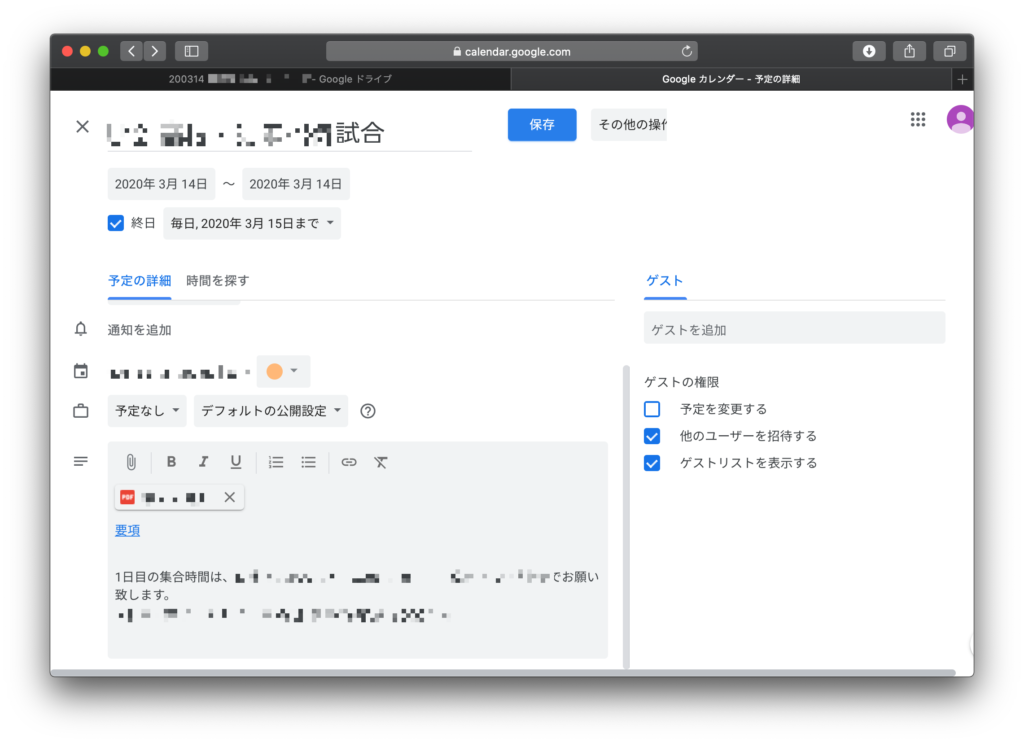
作業ができたらイベントを保存します。
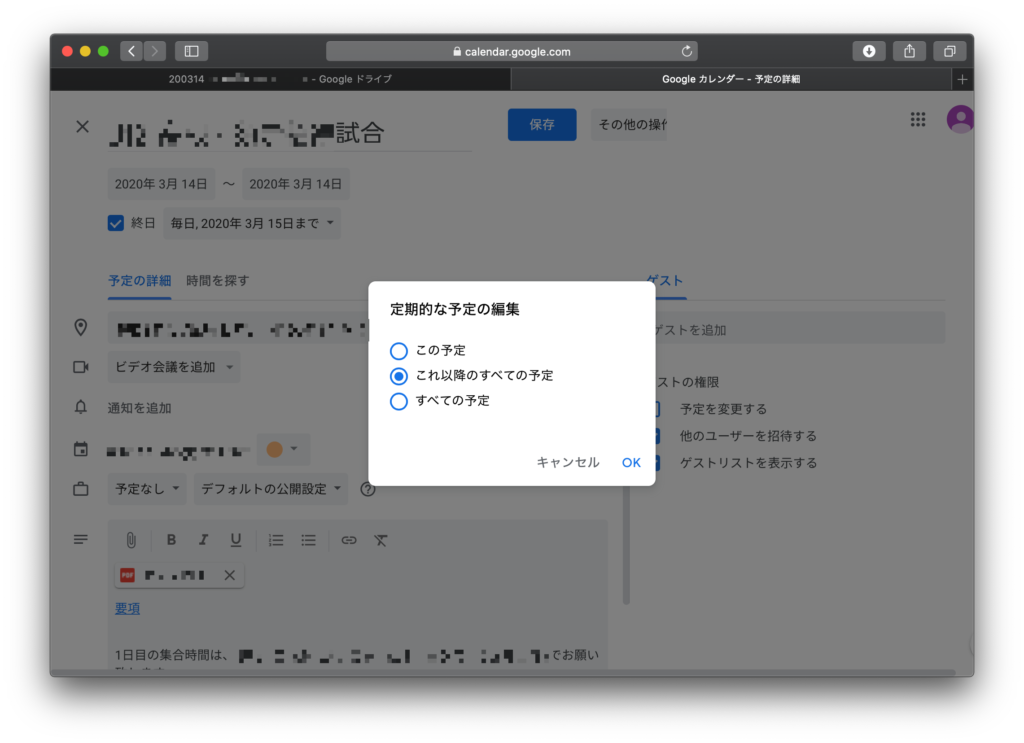
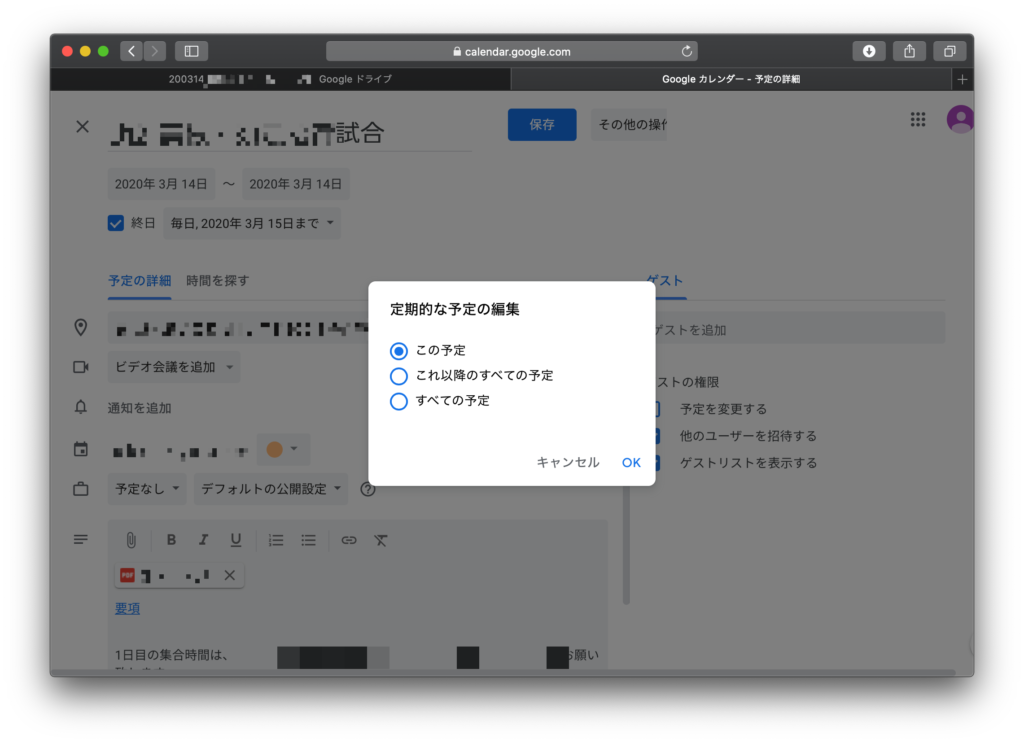
なお、作成済みの予定をいじると次のポップアップが出ます。選択した日だけ(この場合 3月14日だけ)を変更したい場合は”この予定”、選択 した日以降(この場合3月 14日と3月15日の両方)も変更したい場 合は”これ以降の全ての予定”を選択して反映させます。今回は後者を選んでいます。
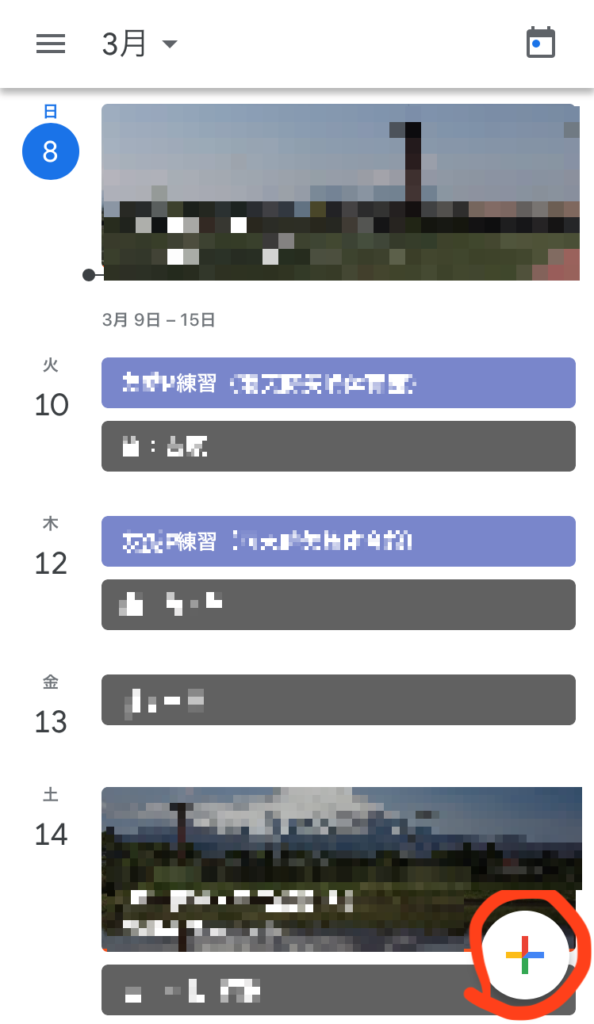
Google カレンダーのスマホアプリからのイベント作成
スマホで作業する場合は Google カレンダーアプリをインストールして、
同様にログインします。 画面右下のマークをタップしてから、画面右下の”予定”をタップ
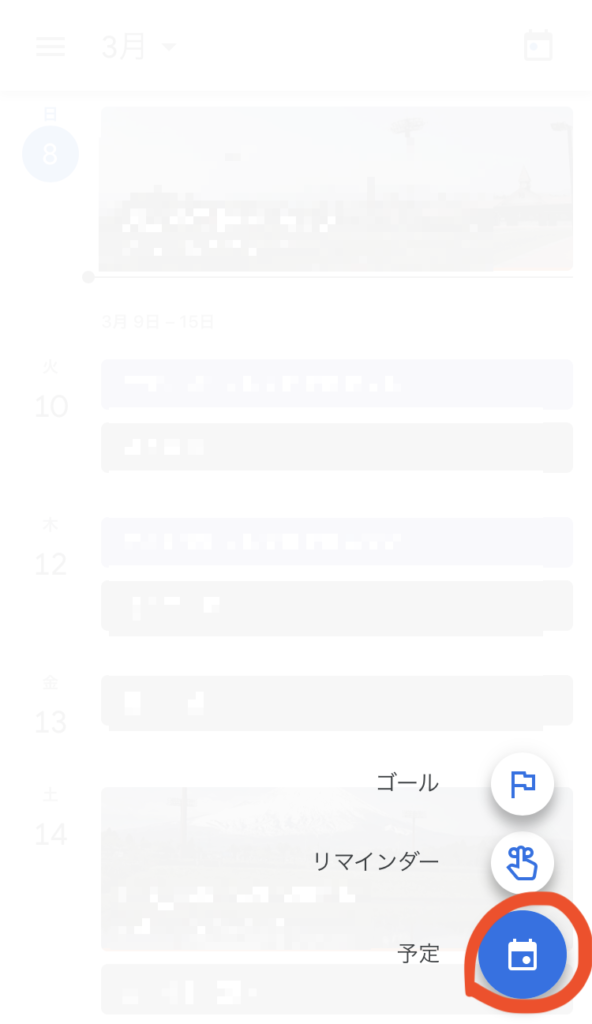
あとはブラウザ版と大体一緒です。めでたしめでたし。
このブログはエックスサーバー
WordPressを使うならロリポップ!
簡単インストール完備で楽々スタート!
世界にたった一つ、あなただけのドメインを登録しよう!
格安ドメイン取得サービス─ムームードメイン─